Showing posts with label Maya. Show all posts

Wednesday, 28 March 2018

@Phil - Pose Shot Updated

I have changed the lighting and the shadows within shot number 2 from the ones uploaded earlier. I am currently working on adding bushes and leaves. I have a few bushes designed but am struggling to get these to work when rending in maya, as the method I am using is what worked for the 2d mouths, so I am unsure as to why the transparent background is not working. I will try to resolve this tomorrow in uni. For the leaves I am yet to draw them out but I was thinking of simply using swirls to fit into the theme of the bushes and trees, please let me know your opinion on this. Overall I feel as if the lighting for the pose shot below is better than the previous. If you have any suggestions please let me know.


Bush design 1

Bush design 2 
Bush design 3

Sunday, 7 January 2018

Minor Project - Final Character Render

I still need to work on the noise reduction and the render settings but I am struggling a little bit in Arnold. For now I am happy with what I have and will go on to create a character turnaround to display the finished character.


Thursday, 4 January 2018

Minor - Blink Rig for Junior Character

After creating the controls for the character I have gone on to add colours and restrictions to these controls. I have also added a simple head rig with an eye follow rig. I used blend shapes to create a blink rig as well, to allow the character more eye movement. When creating the blink rig I realised I had too little geometry in the eyes. So I un-skinned the original head, saving the skin weights, and then added the geometry to allow the correct movement for a blink. I will now go on to texture the character and then finally create the 2d mouth rig before rendering some turn-arounds of the character.


Wednesday, 3 January 2018

Minor - Character Rig Body Controls Set Up

I have created the controls for the body of my character to allow me to easily move him around. Originally I was planning on using an IK/FK switch with the arms but whenever I created it on the right arm this would cause the hand to flip 90 degrees. I repeated the process several times and looked over my joints and rig set up but could not find the reasoning for the flip. So I decided to go with the standard arm controls that I have used previously. Also as I was working on the spine bend I noticed my ribbon spine had broke again. I had to create a new ribbon spine as I was again unaware as to why the original one broke, making it difficult to fix. But this caused issues with skinning due to new spine, Maya did not recognise the joints when it keeps the history for unbinding, so would not let me bind to the skin with this history. But after a bit of research and looking into the different skinning tools, I found the export skin weights tool worked for what I needed. It managed to keep the skin weights for the rest of the body, meaning I only had to re skin the three joints in the spine, rather than the whole character. I will now go on to create a rig for the head to allow that to move, an eye look rig with blink functionality, before going on to texture the character and adding the 2d facial rig.


Saturday, 30 December 2017

Minor Project - Character Skinned and weights blended

I have skinned the Junior character to the rig. I have also blended the weights to allow the correct look for the movements of the joints. I will now go to add controls to the character before texturing him and creating a 2d mouth rig. While skinning the character I encountered several problems, such as the ribbon spine breaking and realising I did not have enough edges in the stomach to allow the movement I wanted. Due to this I had to go through the skinning process several times but this has allowed me to skin the character slightly better each time then the last, as I would see where it did and did not work correctly, then be able to fix it when updating the weights.


Thursday, 21 December 2017

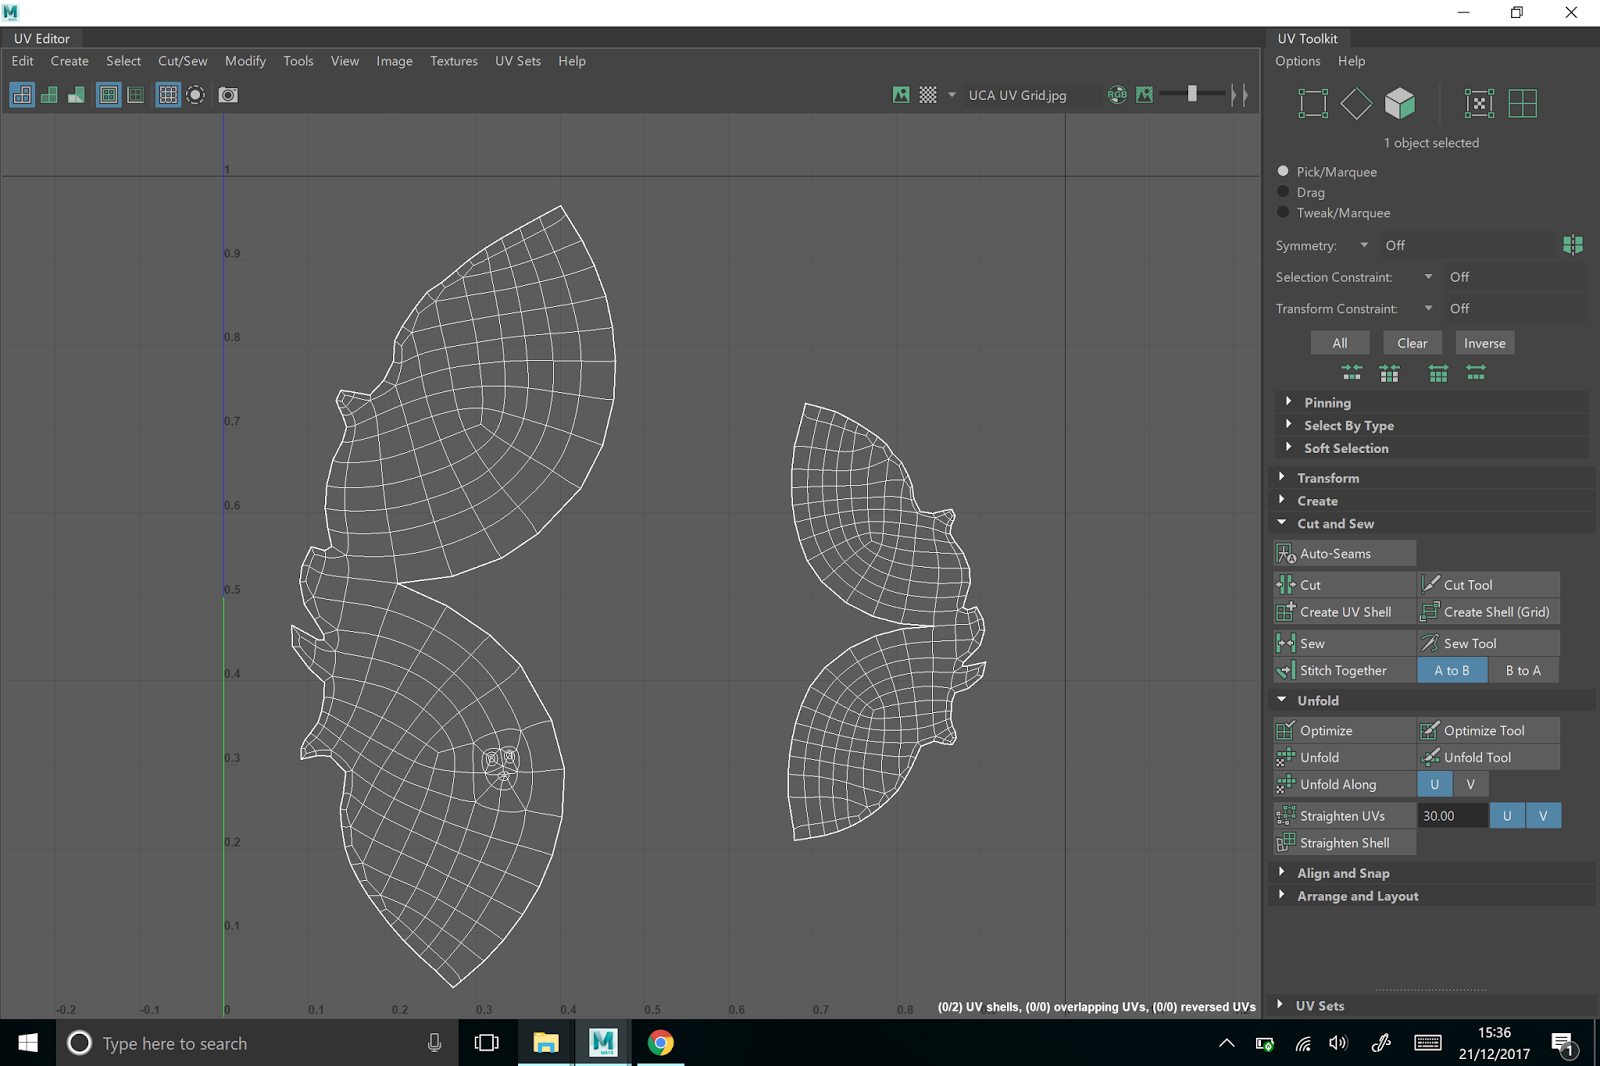
Minor Project - Junior Character Full UV and UV Map

I have finished UV'ing the character to allow easy texturing. I will now move onto creating a skeleton for the character. I am going to use a ribbon spine when creating the rig as this will allow cartoon-ish movements that may be necessary during the animation.


Head UV Map

Hair UV Map

Eyes UV Map

Body UV Map

Minor Project - Junior Character Finished Modelling

After a slight bit of clean up and adding extra edge loops around the joint areas and also creating detailing for the sleeve ends of his jumper. I now feel as if my character is ready to be taken to the next step.


Wednesday, 20 December 2017

Minor Project- Main Character Modelling Near Finished

I have currently almost finished modelling my first character, Junior, for the animation. I will now go on to UV the character before rigging, skinning, adding controls and finally adding a texture. My aim for finish the character by the end of the week is looking as if it will be reached which I am very happy with.


Sunday, 17 December 2017

Minor Project - Character Body Modelling Progression

I am currently half way through modelling my body. I still need a lot of clean up and to model the hands and shoes, but I feel as if I am on schedule and I am liking the overall look of the character. I plan to have this character finished and rendered by the end of this week so this will allow me to move on and model the Garbage-o-saur and then produce the pre-viz.


Thursday, 7 December 2017

Minor Project - Character Modelling Progress

So for with the progress of modelling of my character I have managed to model the main shape of the characters head. I have made some slight changes to the character while modelling, such as initially I was planning on having 2d eyes and mouth. But I found it is easier for me to model eyes and create an eye rig, then it would be to draw all the different sets of eyes. I am still planning on keeping the character with a 2d mouth as creating a full facial rig can be very time consuming. Currently the character is bald as I am trying to work out the best way to create the characters hair. I am planning on using a similar method to how we made the skull cap with the Jet Pack Jones model, but I am going to do some research to find the most time efficient way to model this part of the character. 


Wednesday, 8 November 2017

Maya - Stand in to create duplicates


Using stand in's to create duplicates of objects. This technique will work very well with my final animation when creating a jungle, as I can use the same principles for the trees and shrubbery.

Maya - Mass smoothing objects


Using  an override to smooth all objects for render, rather then pressing "3" on the keyboard.

Maya - Arnold Toon Shader